Privileged Identity Management
Overview
Privileged Identity Management (PIM) is a service in Azure Active Directory (Azure AD) that enables you to manage, control, and monitor access to important resources in your organization. PIM provides time-based and approval-based role activation to mitigate the risks of excessive or unnecessary access permissions.
To assign or approve roles, admins must have Global Administrator or Privileged Role Administrator roles.
Assigning Elevated Access
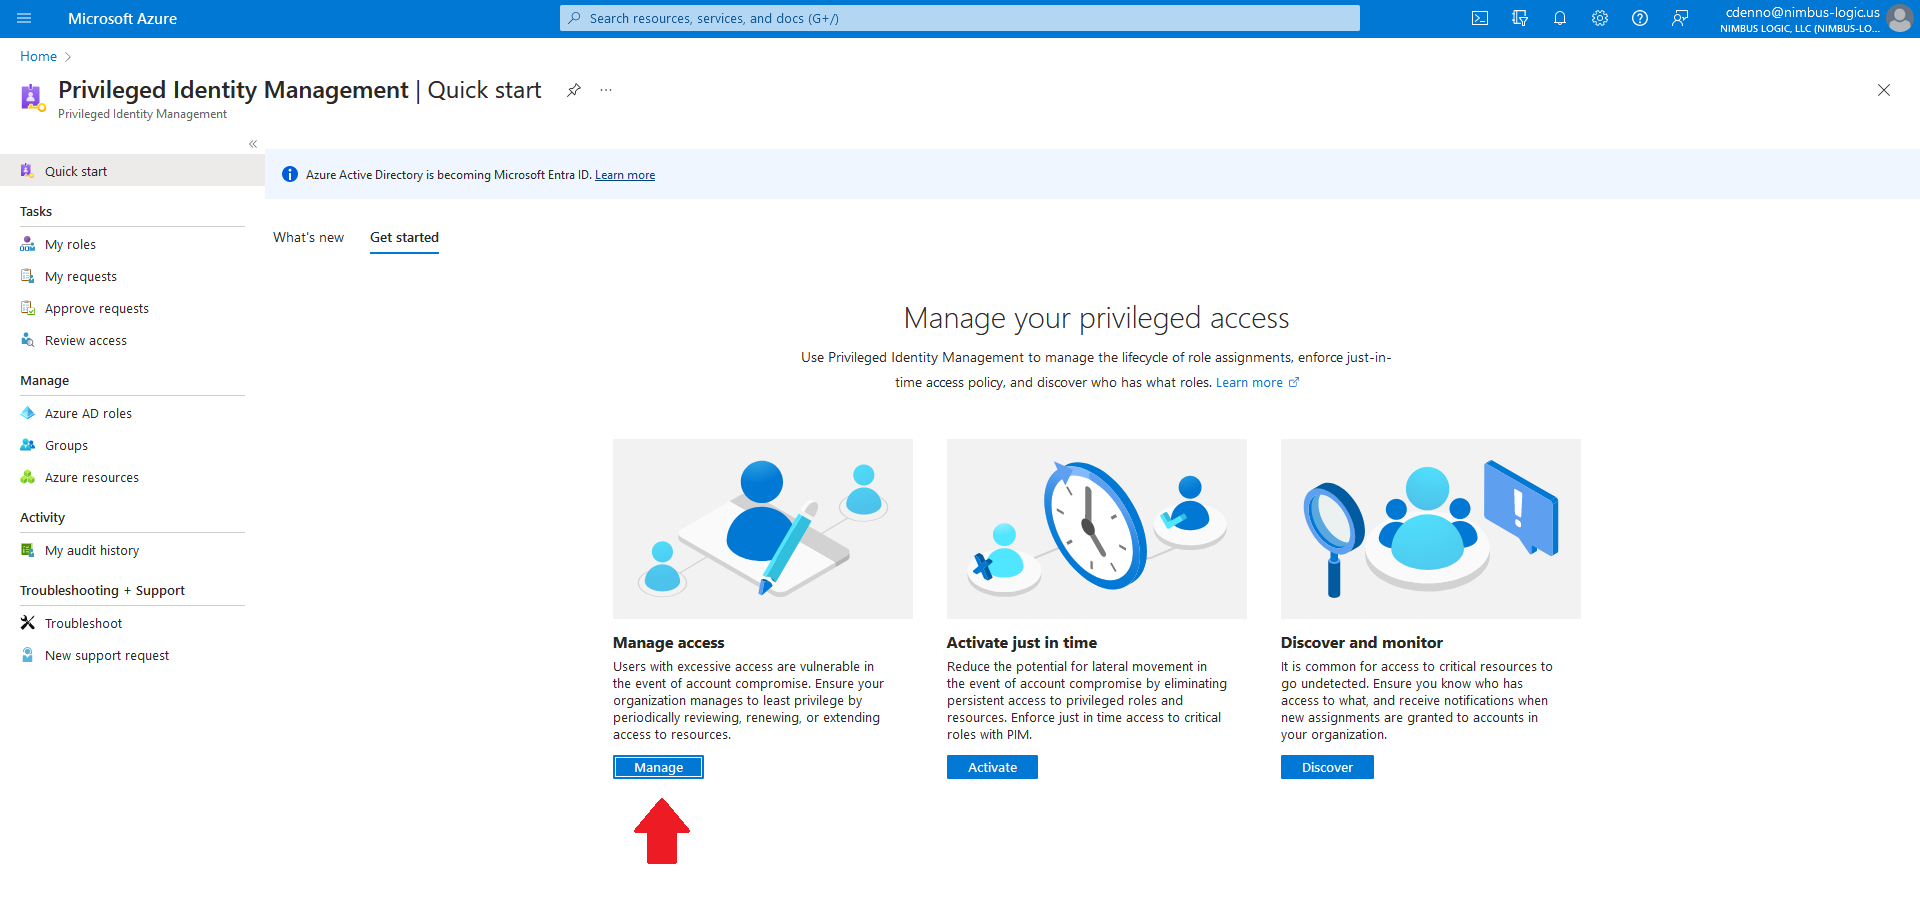
- Login to Azure AD Privileged Identity Management (GCC) or Azure AD Privileged Identity Management (GCC High).
- In the center, click on “Manage”.
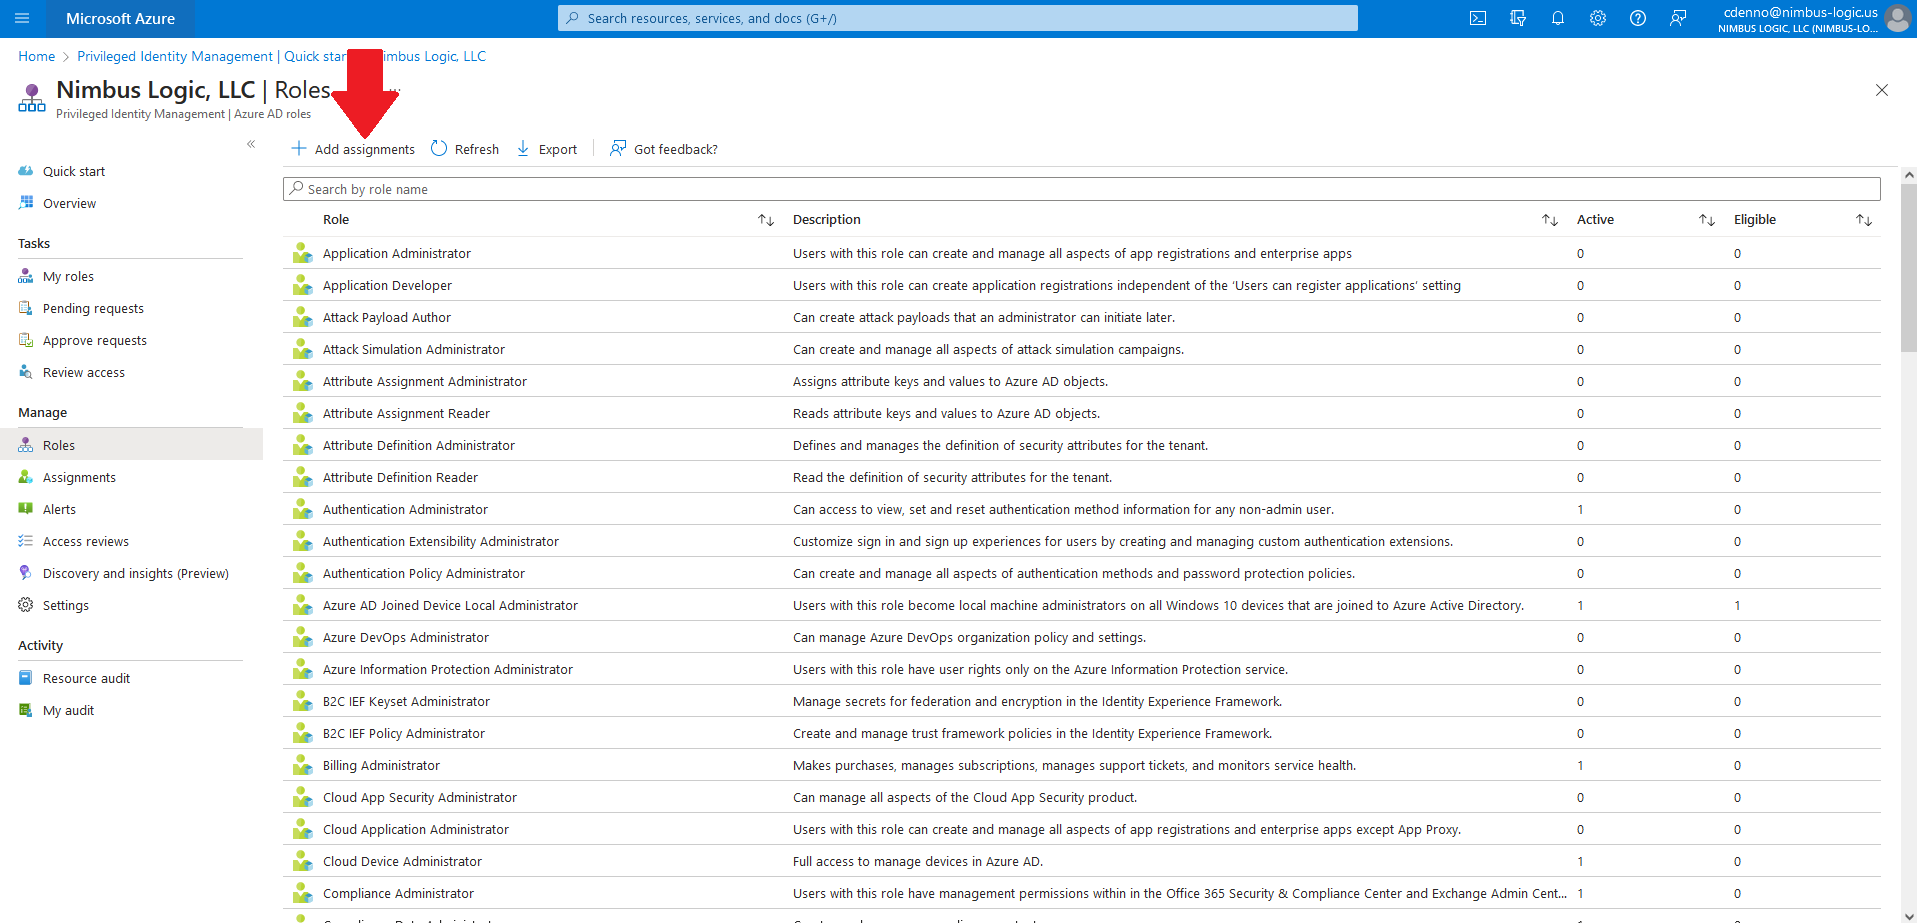
- Click “+ Add assignments”.
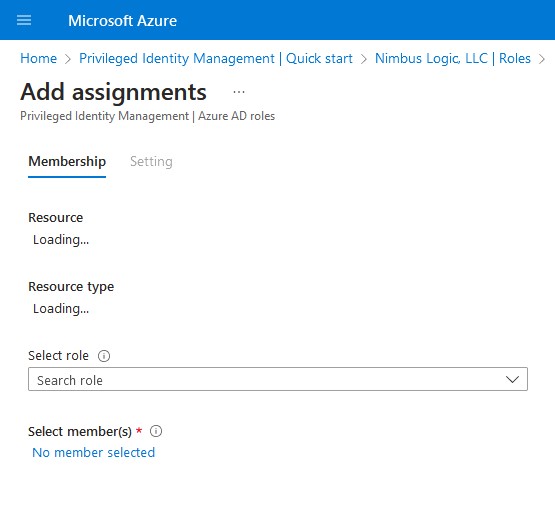
- In the “Select roles” drop down menu, select the role you want to assign, then click the link under “Select member(s)” drop down menu, select the users you want to assign the role to, then click next.
- Determine the assignemnt type and duration of the role assignment.
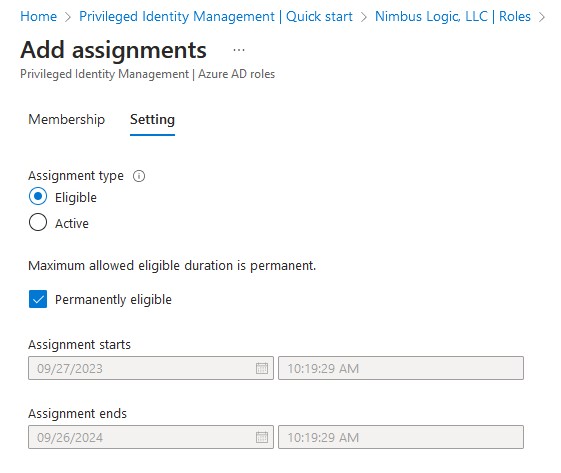
Eligible assignments are assignments that are not active all the time, but can be activated in the future.
Active assignemnts are active all the time and does not require future activation. Active assignments will require a justification at the time of assignment.
It is recommended to assign all roles as eligible, to require usrs to activate the role and provide a justification for activating it. - Click Assign.
Depending on company policy you may be asked to re-authenticate with MFA, provide justification, or wait for approval from an authorized user.
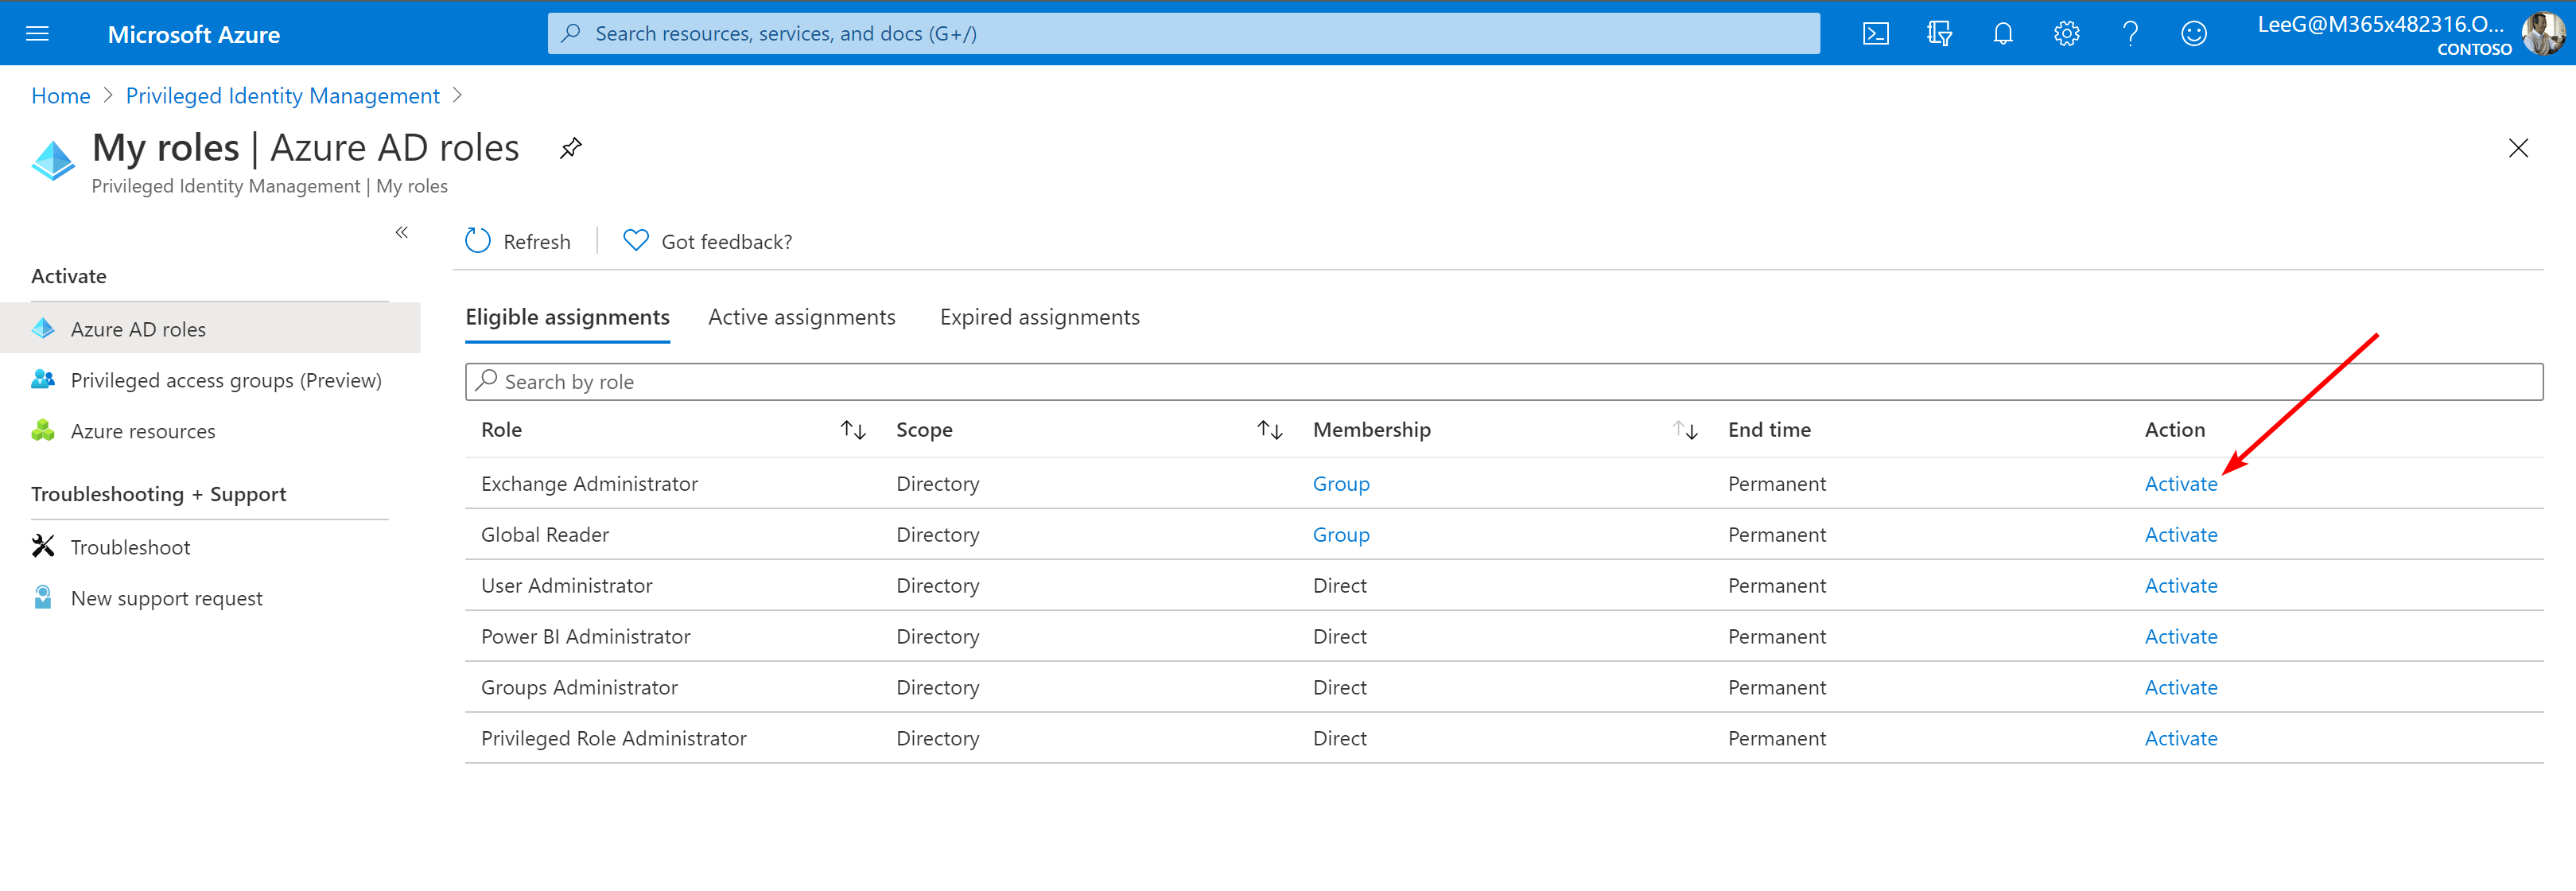
Requesting Elevated Access
Role eligibility is initially determined by your organization as part of onboarding. Eligible roles can be made active at any time with the following steps.
- Login to Azure AD Privileged Identity Management (GCC) or Azure AD Privileged Identity Management (GCC High).
- Locate the desired role to active and click the Activate link
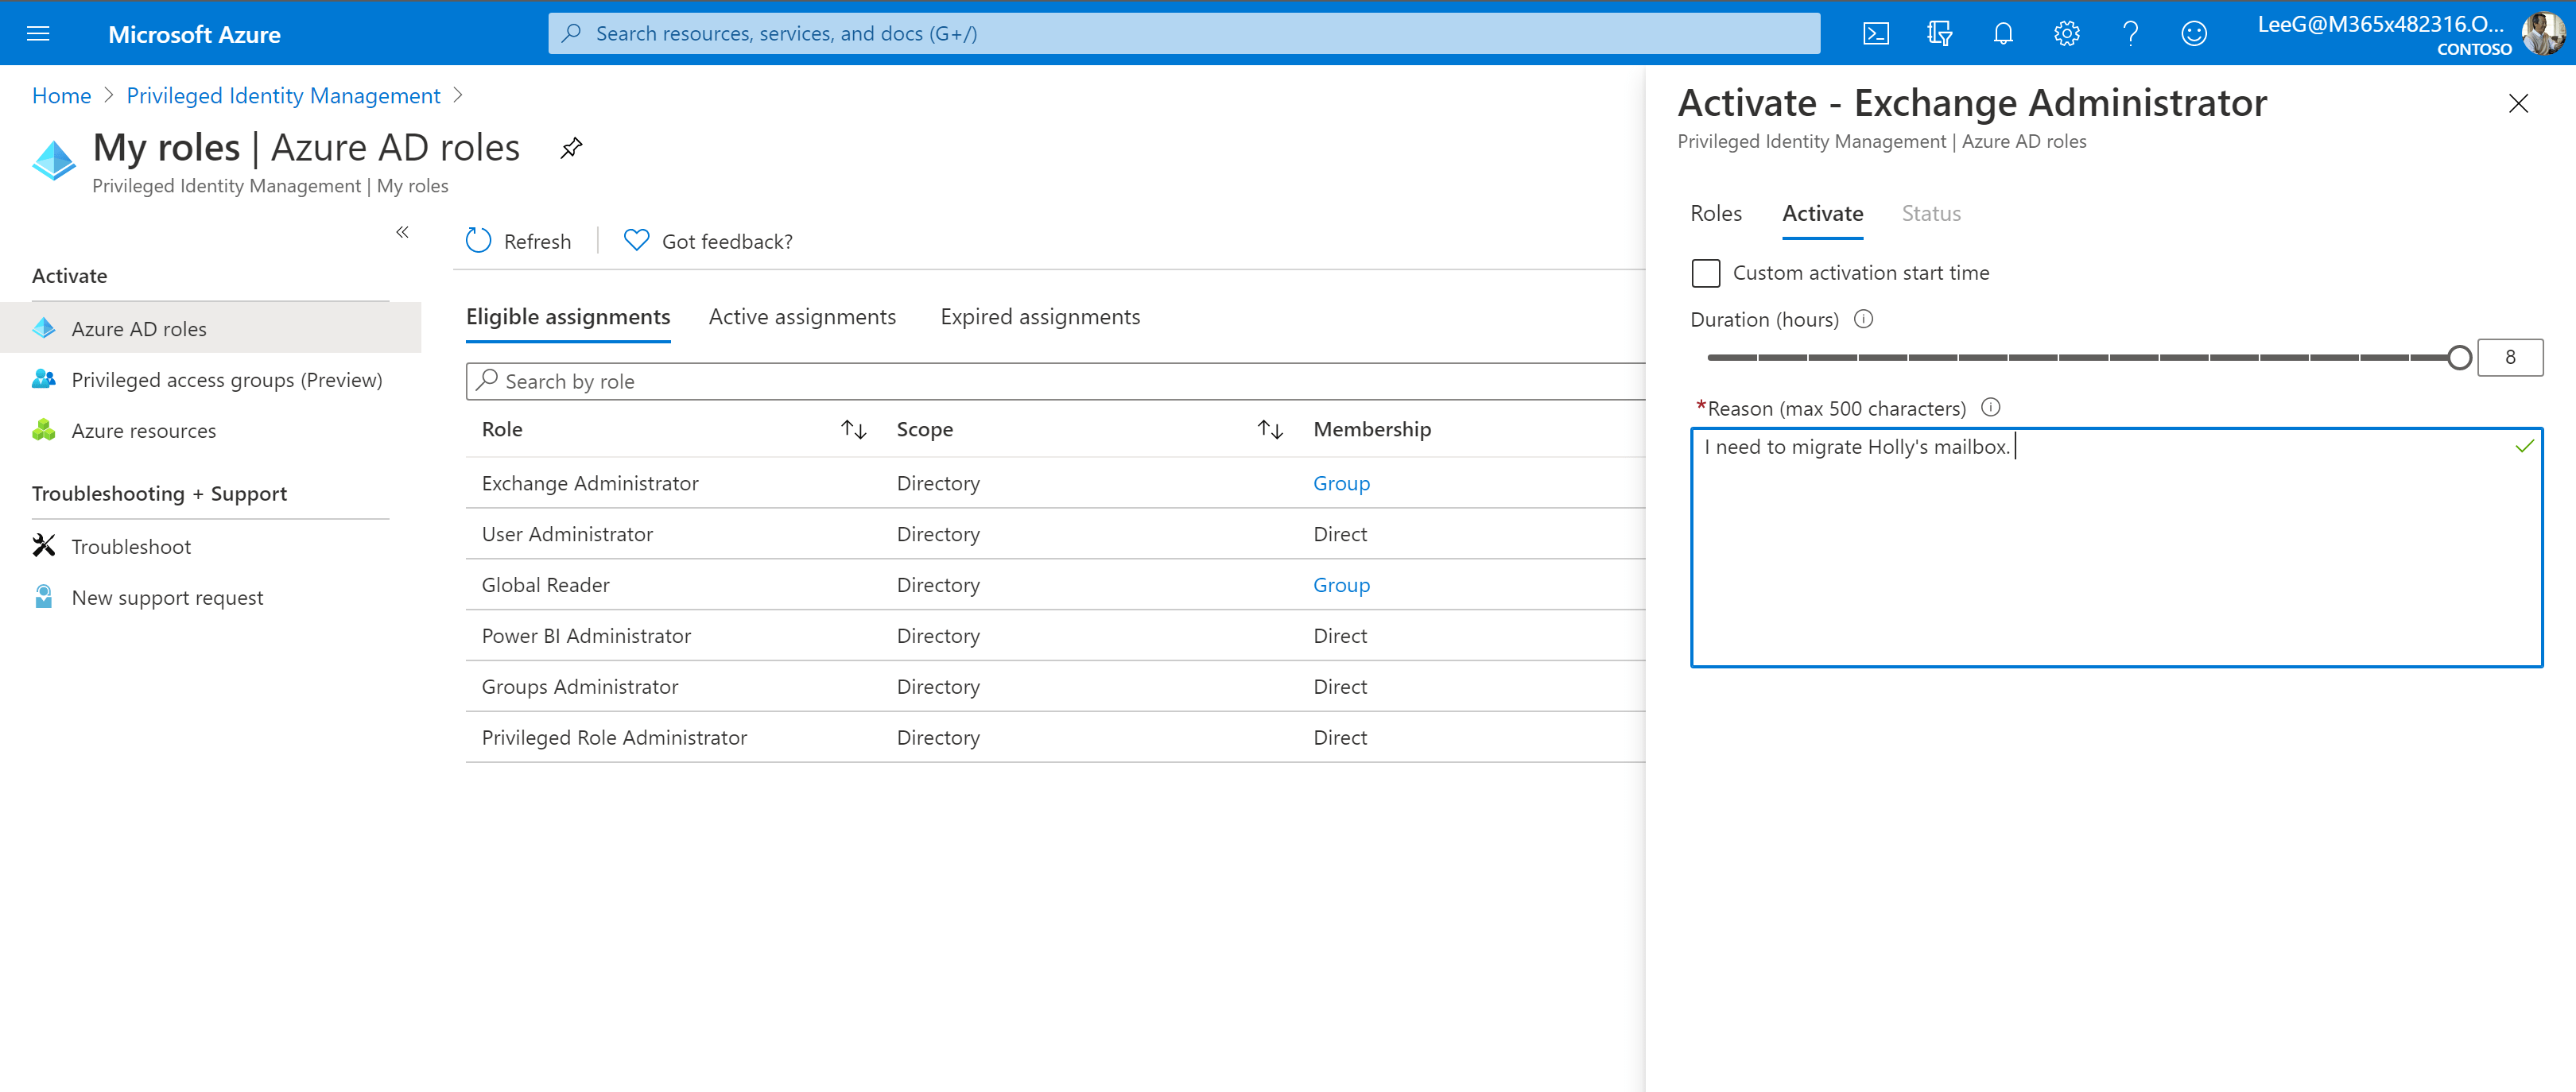
- Choose your desired duration for role assignment and a brief justification
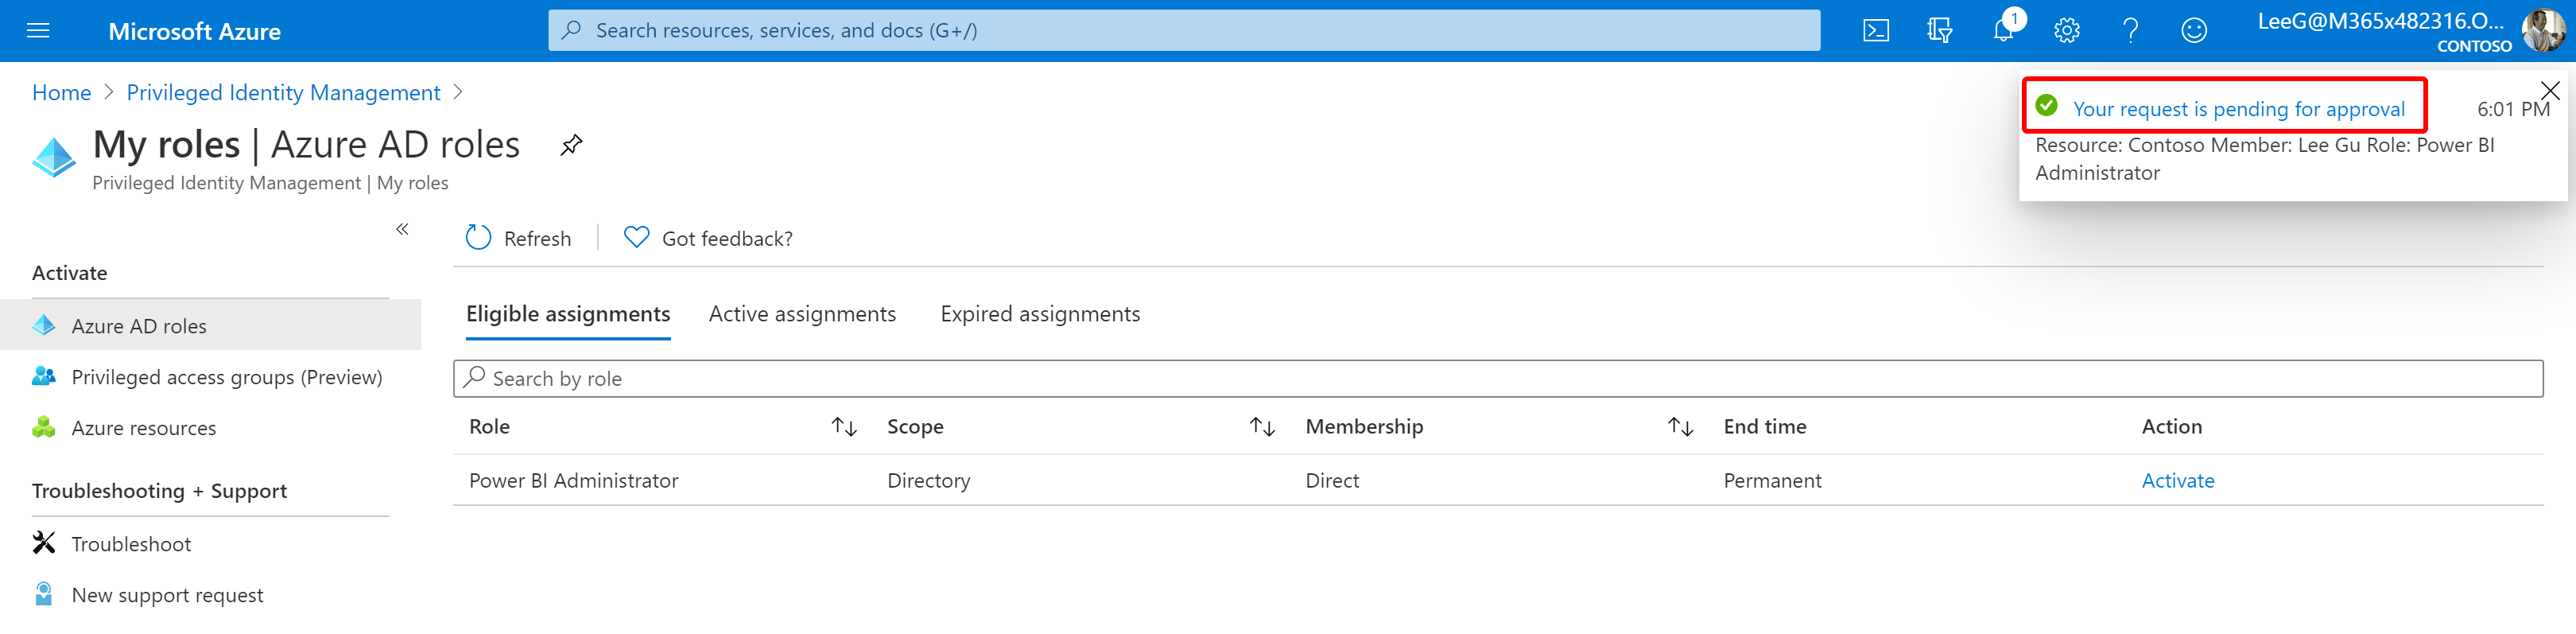
- A notice will be sent to authorized approvers within your organization. Upon their approval you will receive notification by email and your role will automatically be activated.
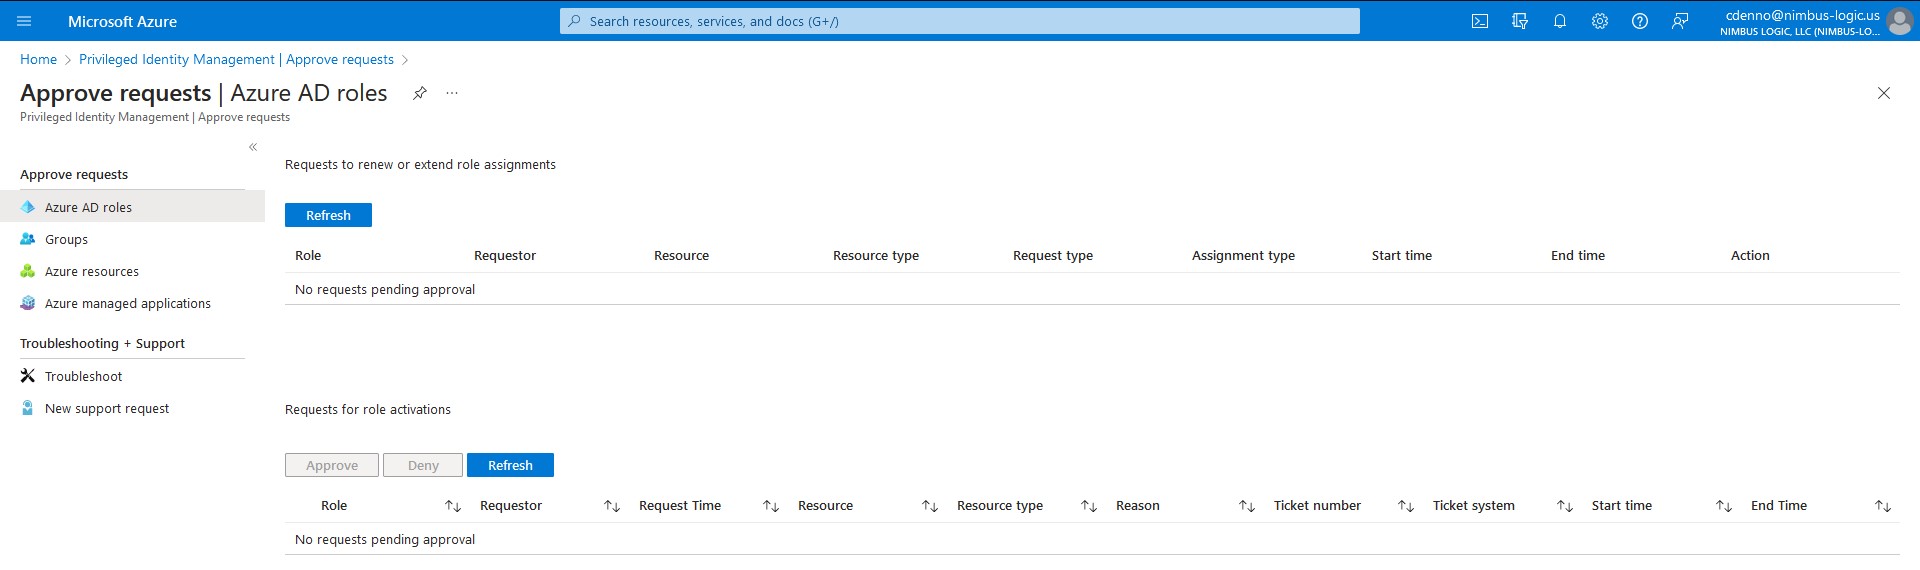
Approve Elevated Access
- Login to Azure AD Privileged Identity Management (GCC) or Azure AD Privileged Identity Management (GCC High).
- On the left-hand menu, select “Approve requests”.
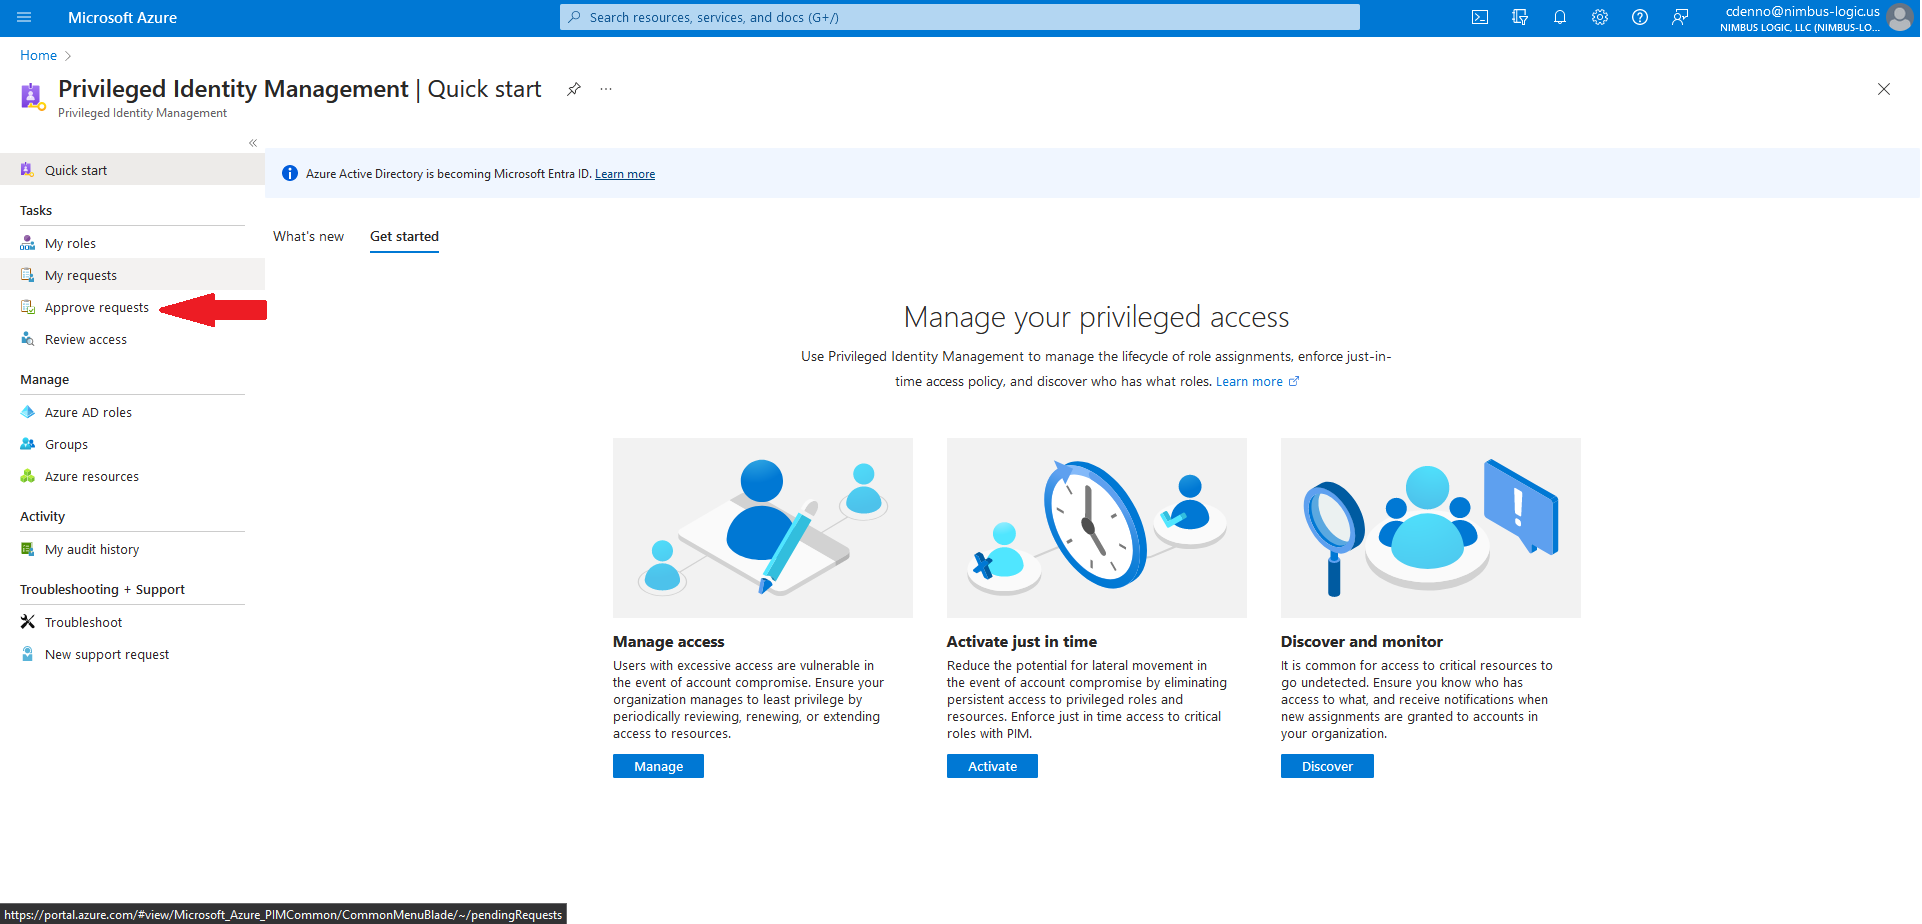
- Here you will see a list of requests pending your approval.