Logging into Microsoft 365 Services
User Links
| Microsoft Gov. Portal | GCC Url | GCC High Url |
|---|---|---|
| Outlook Web Mail | mail.office365.com | outlook.office365.us |
| Microsoft 365 Portal | portal.microsoftonline.com | portal.office365.us |
| Sign In Options (MFA) | account.activedirectory.windowsazure.com | account.activedirectory.windowsazure.us |
| Request Privileged Access (PIM) | portal.azure.com | portal.azure.us |
Admin Links
| Microsoft Gov. Portal | GCC Url | GCC High Url |
|---|---|---|
| Microsoft 365 Admin Portal GCC High | portal.office.com | portal.office365.us |
| Microsoft Endpoint Manager | endpoint.microsoft.com | endpoint.microsoft.us |
| Microsoft Cloud App Security Portal | portal.cloudappsecurity.com | portal.cloudappsecurity.us |
| Microsoft Azure AD Portal | portal.azure.com | portal.azure.us |
| Microsoft 365 Compliance | compliance.microsoft.com | compliance.microsoft.us |
| Microsoft 365 Defender | security.microsoft.com | security.microsoft.us |
| OneDrive admin center GCC High | admin.onedrive.com | admin.onedrive.us |
| Exchange Admin Center GCC High | outlook.office365.com/ecp | outlook.office365.us/ecp |
| Microsoft Teams Admin Center GCC | admin.gov.teams.microsoft.com | admin.gov.teams.microsoft.us |
Multi-Factor Authentication (MFA)
Initial Setup
MFA is enforced for all Microsoft service logins as part of your security baseline. When you first login to your Microsoft 365 account you will see the following when first attempting to login:
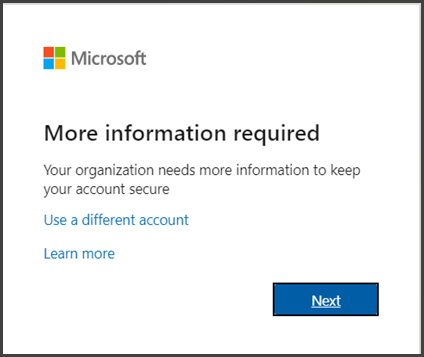
This is indicating that MFA will need to be setup before you’re able to access Microsoft 365 services. Click Next to setup MFA and you will be presented with the following page.
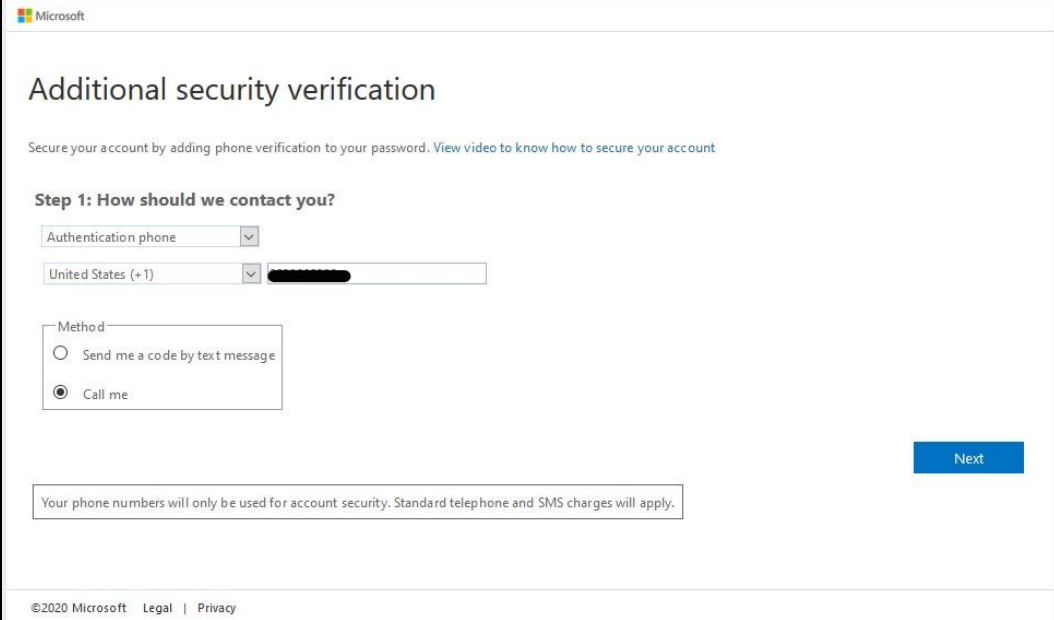
There are three ways to perform MFA:
- Text message
- Voice call
- Mobile App
To receive a text or voice call, choose “Authentication Phone”. You can then select “Send me a code by text message” or “Call me” based on your preference for receiving the code.
Changing MFA Settings
You can always change your MFA settings after the initial setup. To do so you can use the following link to access your Microsoft 365 sign in options and change your security verification.
| GCC | GCC High |
|---|---|
| https://account.activedirectory.windowsazure.com/proofup.aspx?proofup=1 | https://account.activedirectory.windowsazure.us/proofup.aspx?proofup=1 |
Setup Microsoft Authenticator (Mobile App)
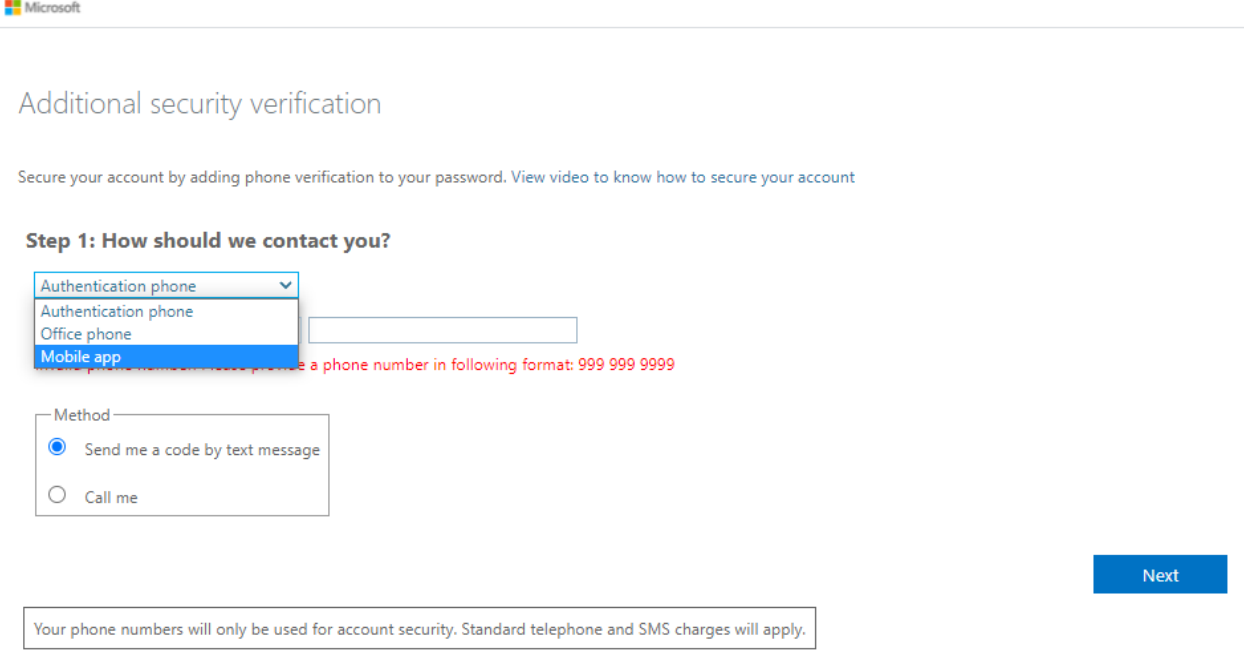
If you do not want to or cannot receive calls or text messages to your phone, you can choose to use an authenticator app instead. To choose this option, click on the down arrow to the right of the first drop-down box and select Mobile App on the first page of the MFA setup.
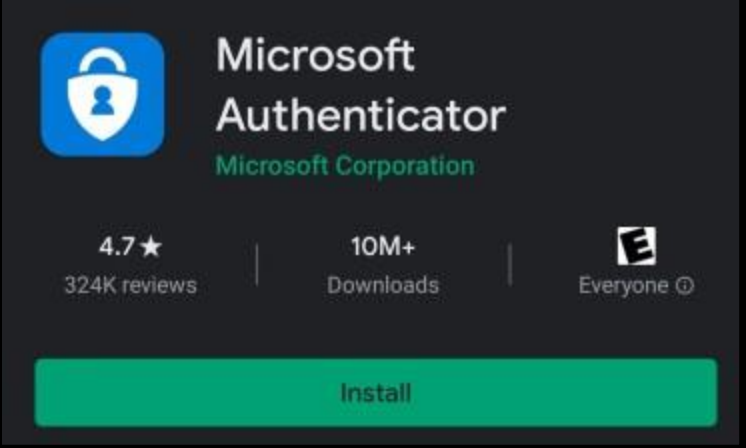
NOTE: This method requires you to download the Microsoft Authenticator
App from your phone’s app store.
Setting up the Authenticator App for use with Multifactor Authentication (MFA)
-
Download and install the Microsoft Authenticator App from your phone’s
app store
-
After app installation, login to your Microsoft 365 account from your workstation. If this is your initial MFA setup, you will automatically be taken to the Additional Security Verification page. If you already have MFA setup and wish to change your verification option, click the appropriate link above in the Changing MFA Settings section
-
Choose Mobile App in the dropdown box in Step 1
-
After changing to Mobile App, click Receive notifications for verification and then
click Set up -
You should now see a QR code displayed in your browser. Open the Microsoft Authenticator app on your phone and choose to add an account. Select Work or School account. Then select “Scan a QR code”. You may need to give the app permission to use your phone’s camera.
Use your phone to scan the QR code on your laptop. -
Upon validating settings in the Microsoft Authenticator app, your MFA setup is now complete.
The app works by sending you a notification when it detects you are trying to
login to your Office 365 account. Just open the notification and indicate that you
are trying to login. You will then be logged into your account on your laptop.
Add a security key as a sign in method for your Microsoft account:
Go to the Microsoft account page and sign in as you normally would. (https://account.microsoft.com/)
- Select Security > More security options.
- Select Add a new way to sign in or verify.
- Select Use a security key.
- Identify what type of key you have (USB or NFC) and select Next.
- You will be redirected to the setup experience where you will insert or tap your key.
- Create a PIN (or enter an existing PIN if you have already created one).
- Take the follow-up action by touching either the button or gold disk if your key has one (or read the instruction manual to figure out what else it might be).
- Name your security key so that you can distinguish it from other keys.
Sign out, choose security key instead of WHFB or password, and sign in by inserting or tapping your key.
Signing into Windows with your security key
- Go to Start > Settings > Accounts > Sign-in options.
- Select Security Key.
- Select Manage and follow the instructions.
Self Service Password Reset
Self service password reset is enabled for your Microsoft organization. If you cannot access your Microsoft 365 account you can perform a self service password reset.
- Navigate to Microsoft 365 login, https://login.microsoftonline.com (GCC) or https://login.microsoftonline.us (GCC High)
- Enter your Account name. If you do not know your account name, you can click the link Can’t access your account?
- When prompted for a password, click Forgot my password
- Enter your Microsoft 365 username in the field provided
- You will be prompted for additional verification with a choice to
- Email my alternate email
- Call my office phone
- Once verification is complete, you will be prompted to set your new password
Temporary Access Pass
Temporary Access Pass (TAP) offer a strong authentication method that admins can provide to users. This will allow a user to temporarily gain access to their device or web portals to reconfigure WHFB or access to web portals in locations where MFA is impossible.
Creating a Temporary Access Pass
- Sign into the Azure Portal.
- Click Users.
- Search for the user you need to create the TAP for.
- Within the user profile, click “Authentication methods” in the left hand menu.
- Click “+ Add authentication method”.
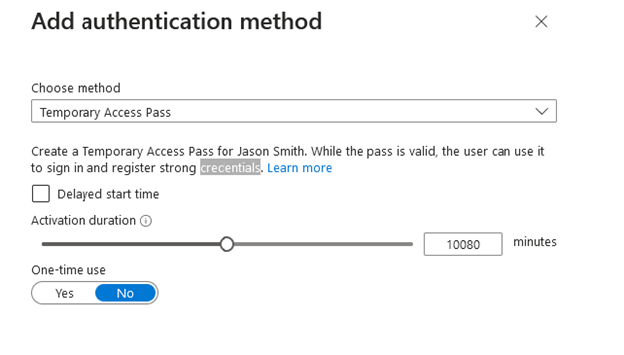
- Select Temporary Access Pass.
- Configure TAP duration and if it is one-time use.
- Click add to display the TAP.
Deleting a Temporary Access Pass
- Sign into the Azure Portal.
- Click Users.
- Search for the user you need to create the TAP for.
- Within the user profile, click “Authentication methods” in the left hand menu.
- Click the 3 dots to the right of the Temporary Access Code listed.
- Click Delete.
While a user has a TAP configured, they may be unable to use other authentication methods. Other authentication methods will be available once the TAP expires or is deleted.